
Vapor barrier replacement
Most crawl spaces in the valley have some plastic on the ground. A lot of it is thin, torn by whoever last crawled through, bunched up in the corners, or was never attached to anything.
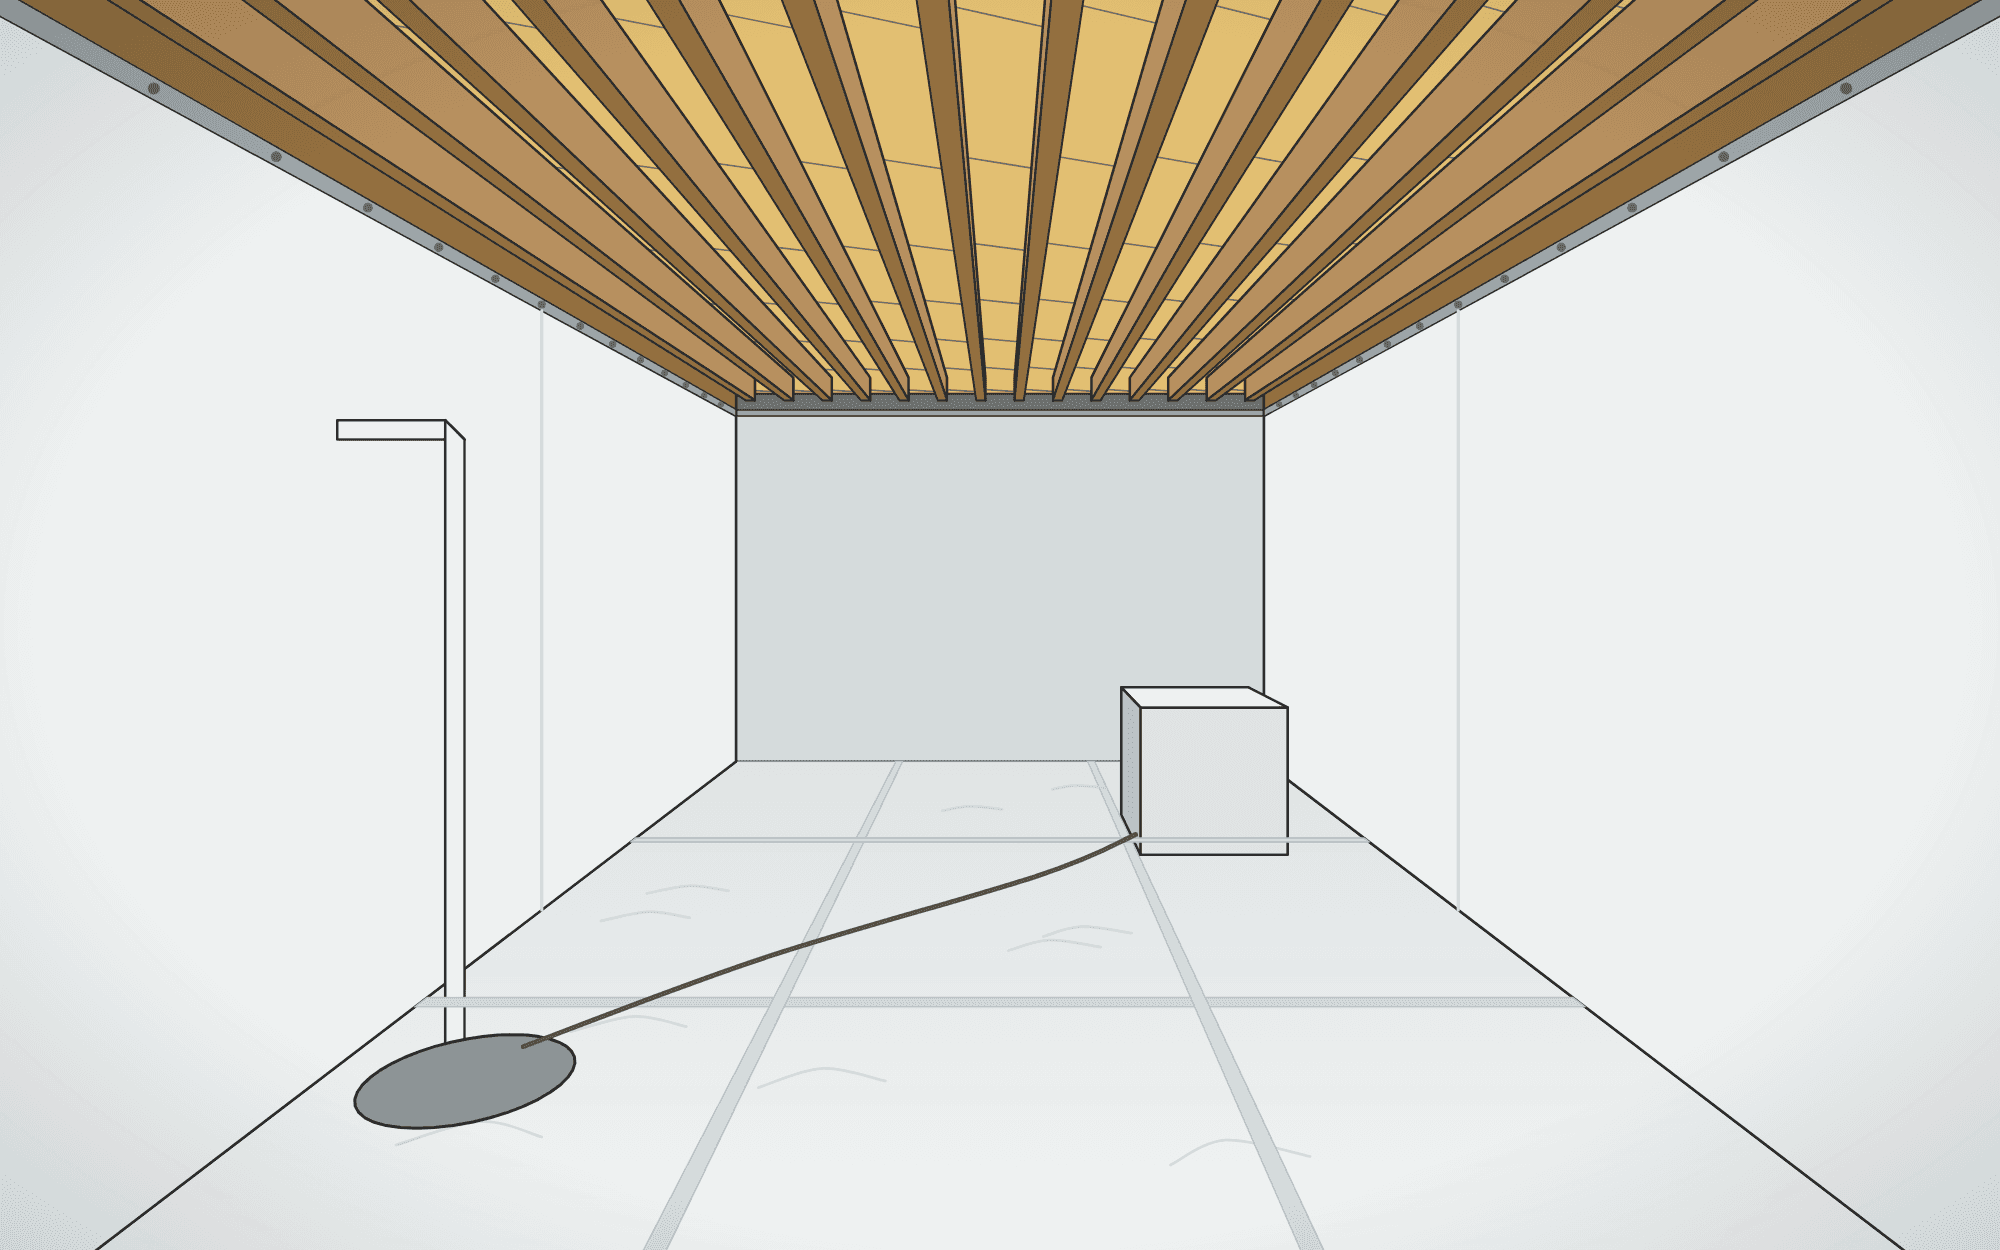
We pull the old barrier, deal with anything wrong underneath it, and put down a heavier one with taped seams that runs up the walls and is fastened there.
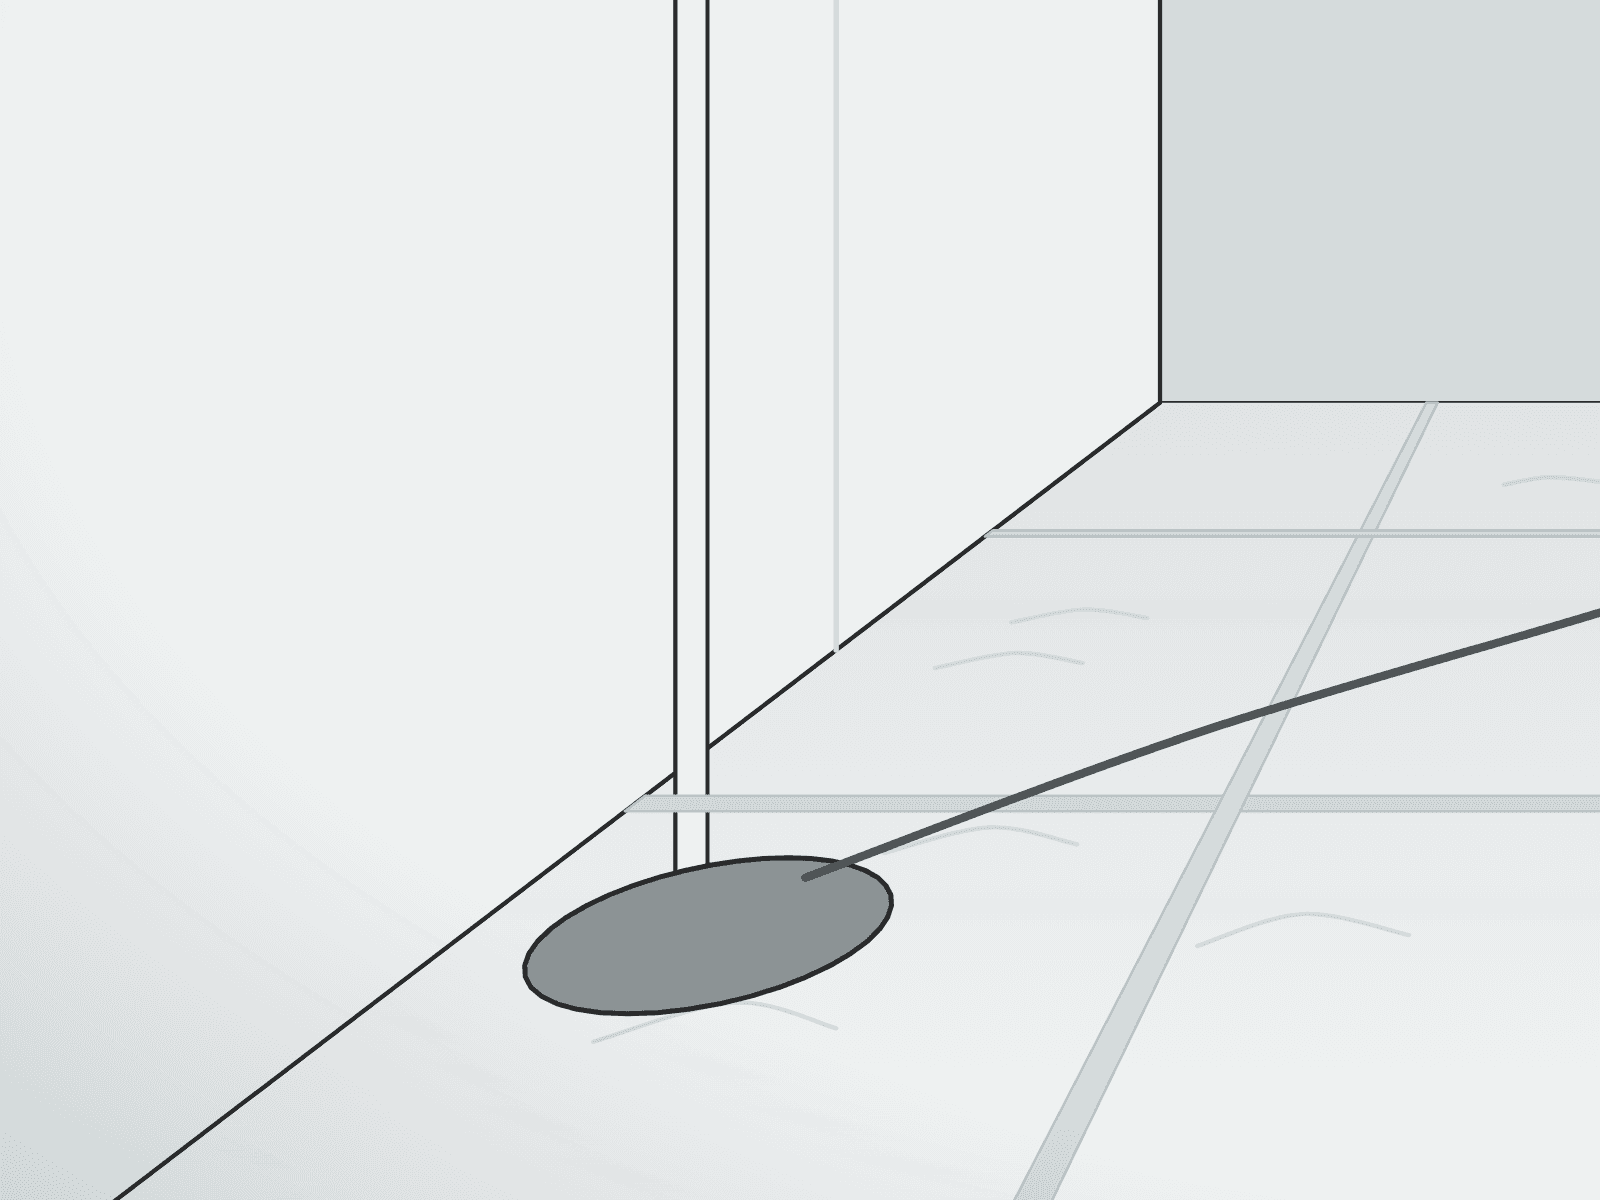
Signs it’s time
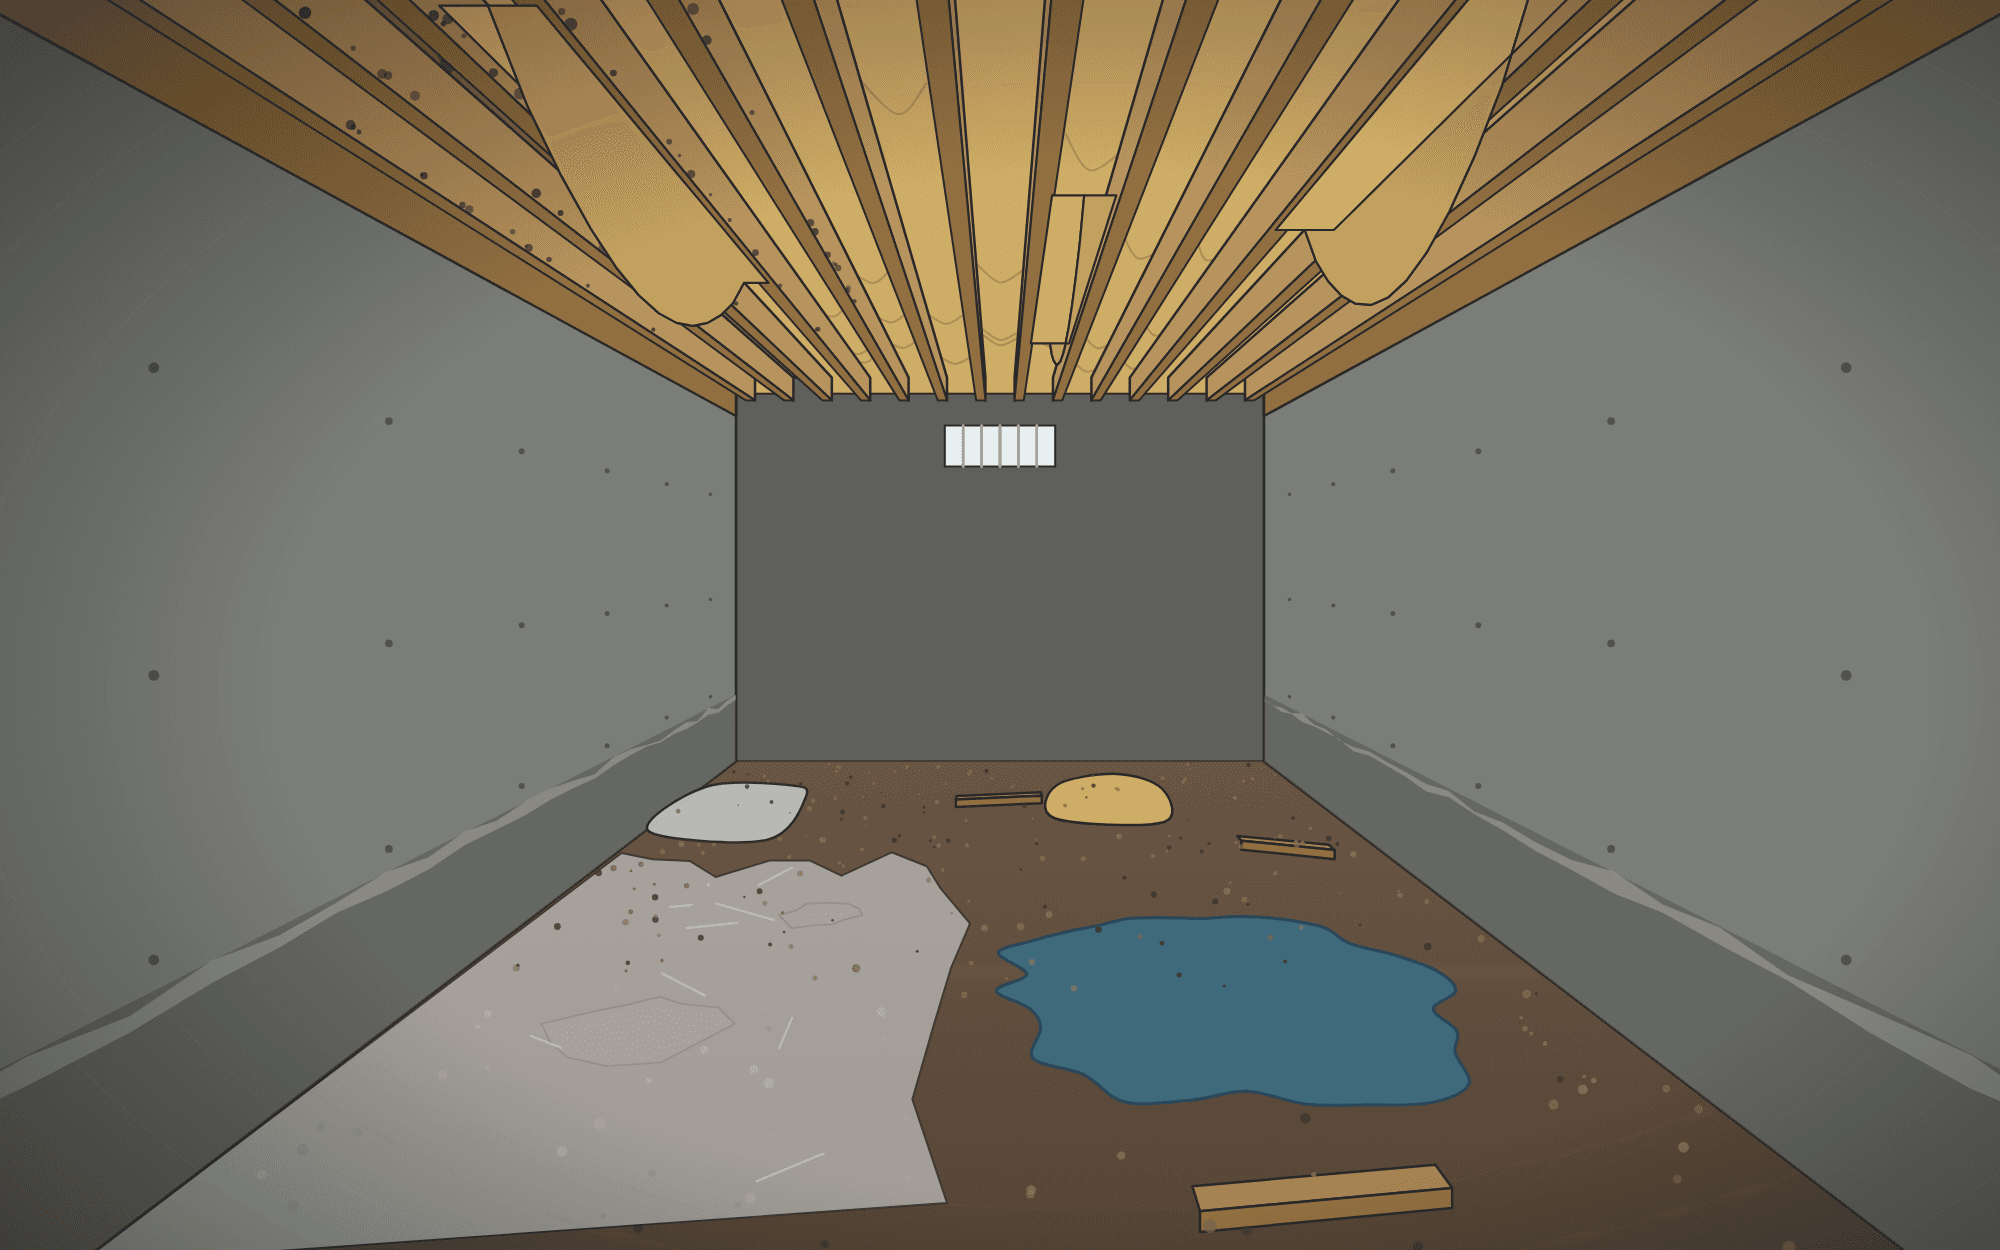
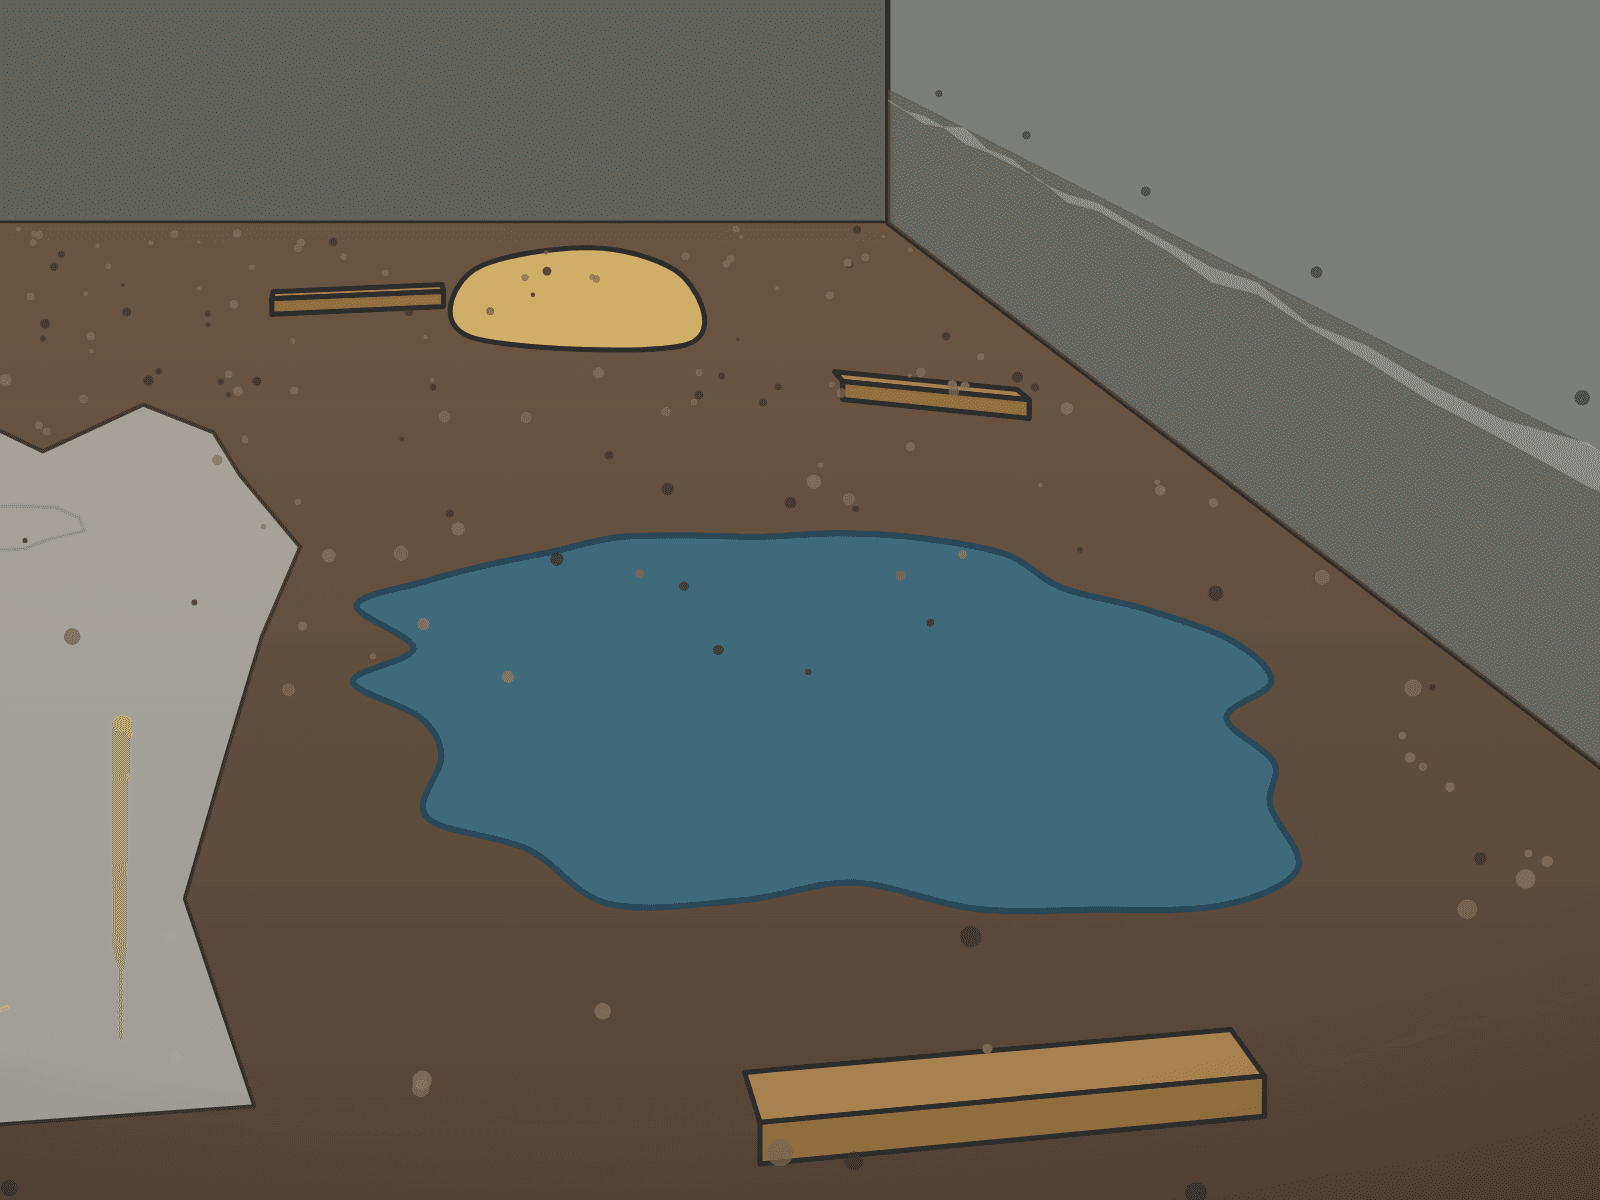
- Plastic that’s torn, shredded, or pulled back from the walls
- Water sitting on top of the plastic, or under it
- Bare dirt showing in sections, or no barrier at all
- Your home inspector wrote up the vapor barrier as damaged or incomplete
- A musty smell in the house that’s worse in summer
How we do it
- 1
Check for water first
If there’s water under the old plastic, that gets solved before the new barrier goes down.
- 2
Pull the old barrier
Old plastic, scrap wood left by the builder, and debris come out and get hauled off.
- 3
Prep the ground
Rake it out and clear anything sharp that would punch through the new barrier.
- 4
Lay the new barrier
[Barrier thickness and brand] over the ground, with the seams overlapped and taped.
- 5
Up the walls and fastened
Run it up the stem wall and fasten it, so it stays put the next time someone crawls through.
What you get in writing
- Square footage and what barrier we’ll install
- Whether any water work needs to happen first
- Price for the work [Pricing format: flat price or itemized]
- [Warranty terms for the barrier]
Where this fits.
Crawl space work goes in one order: water, then the barrier, then the air. Here’s where this job sits, and what has to be true before we start it.
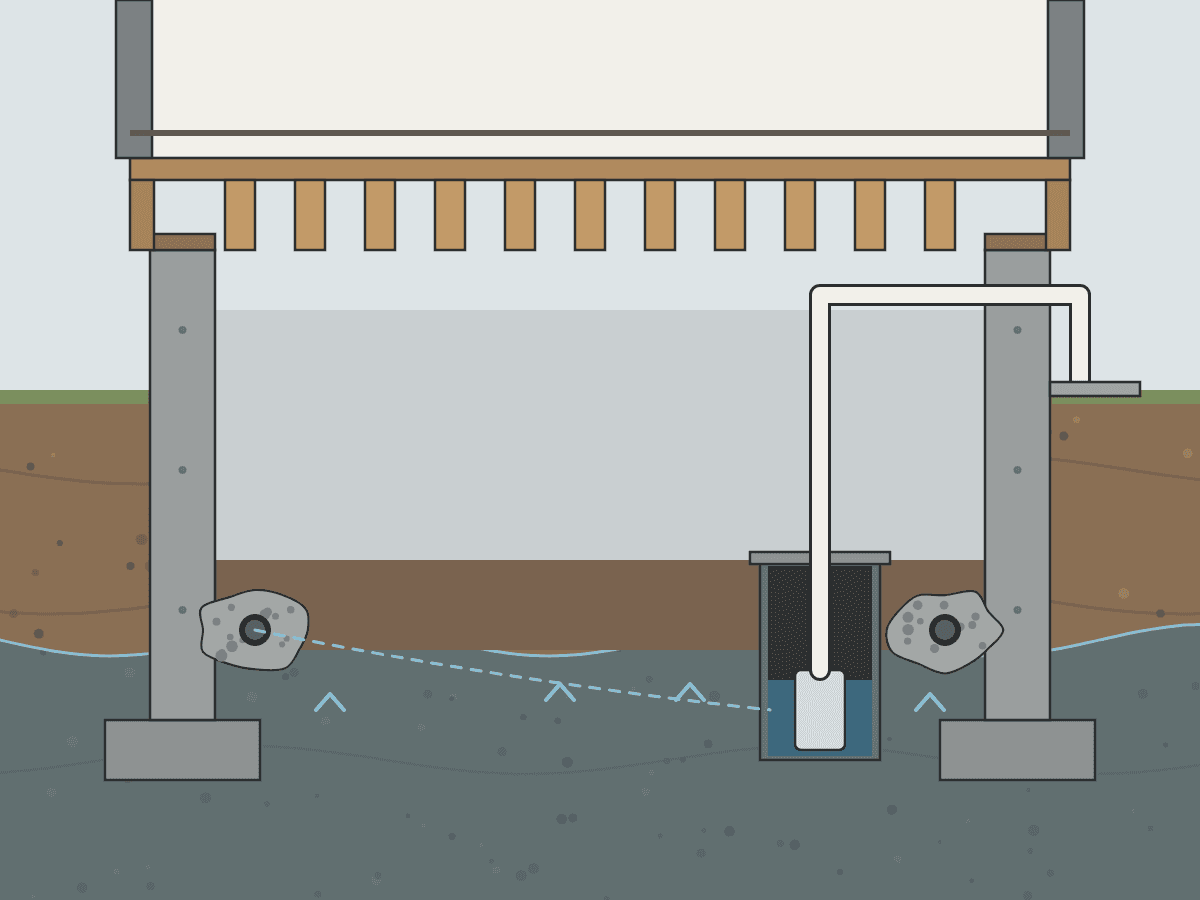
Water
Find where it’s coming from and give it somewhere to go: grading and downspouts, a drain, or a sump pump. Nothing else holds up until this is done.
Water removal and sump pumps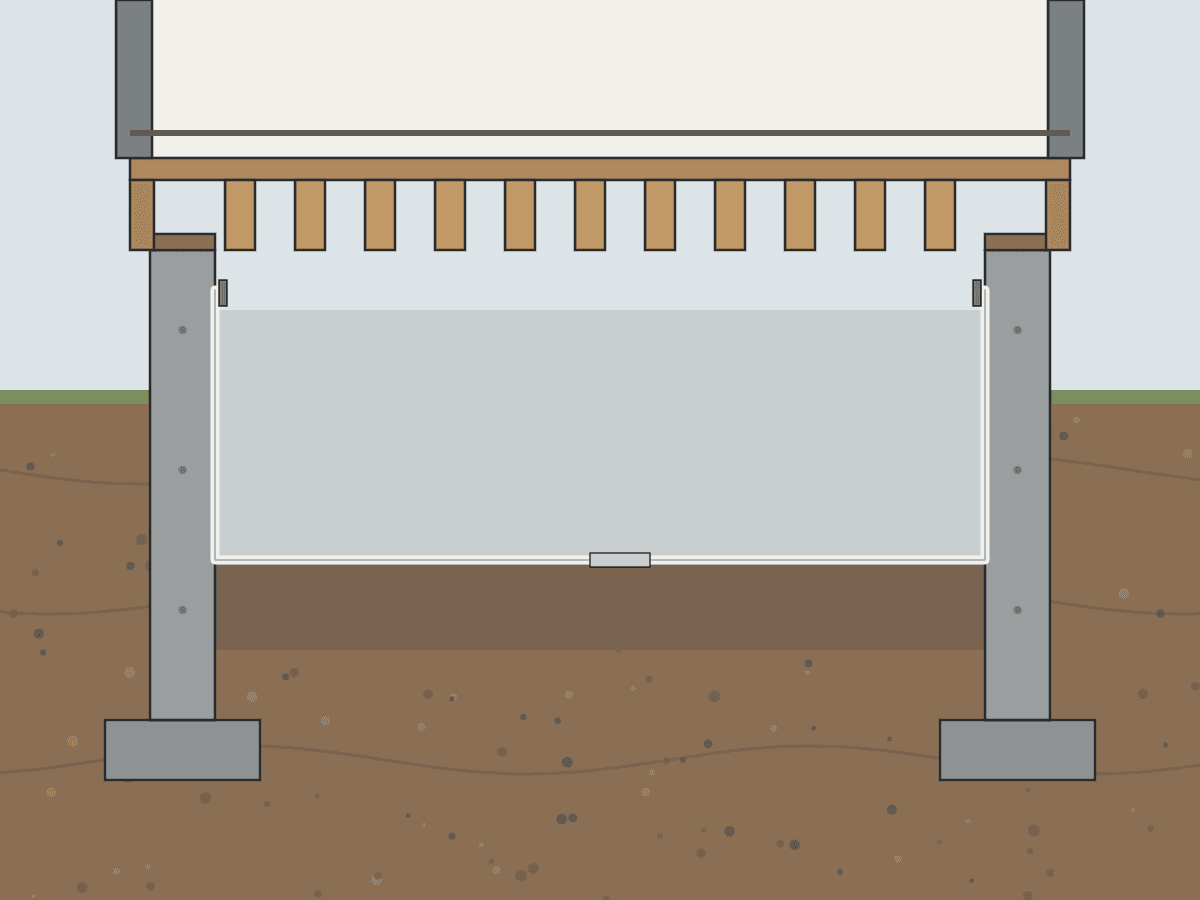
The barrier
This serviceOnce it stays dry, a vapor barrier goes down over the dirt and up the walls, seams taped and edges fastened, so ground moisture stays in the ground.
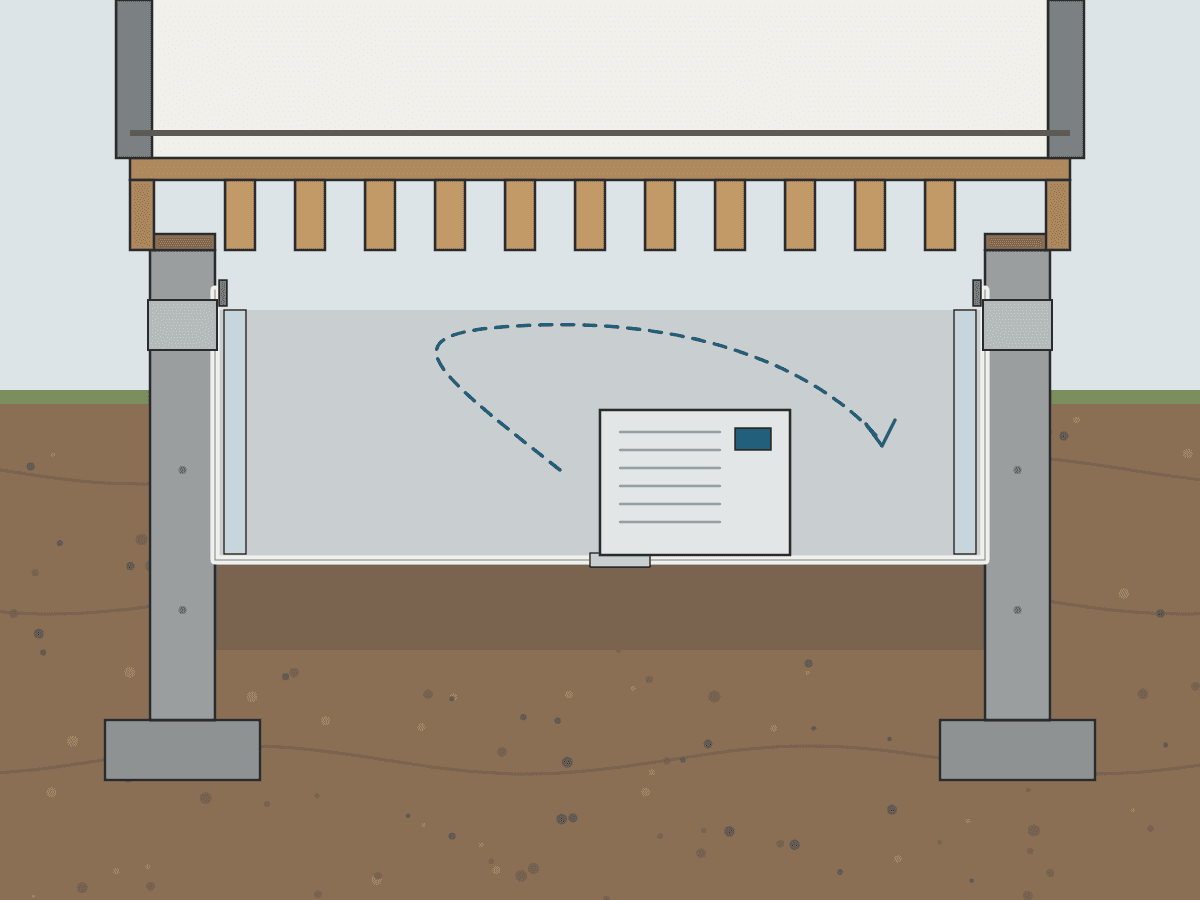
The air
Then the air: seal vents where it makes sense and dry the space with equipment sized to it. Insulation goes back in after this, not before.
Full encapsulation
Same crawl space. Before, and after.
Drag the line to compare. Illustration. [Swap in a real job pair]
Questions about vapor barrier replacement
Do you have to remove the old plastic?
Usually, yes. Old plastic hides what’s on the ground, holds water, and keeps the new barrier from lying flat. Pulling it is also how we find out if there’s water or mold under it.
Will a new vapor barrier fix standing water?
No. A barrier keeps ground moisture in the ground. It doesn’t stop water that’s coming up or running in. If there’s water, that’s step one.
What’s the difference between a vapor barrier and encapsulation?
A vapor barrier covers the ground and runs up the walls. Encapsulation goes further: the liner covers the walls too, vents and gaps get sealed, and the air in the crawl space is dried with a dehumidifier.
How thick is the barrier you install?
[Barrier thickness and brand you install]
Often done with this
Water removal and sump pumps
Pump it out, find where it comes from, and give it a permanent way out.
Call when: Standing water, wet dirt, or a pump that runs all summer.
Crawl space encapsulation
Sealed liner on the ground and walls, vents closed, and the air dried.
Call when: Repeat moisture, ductwork in the crawl space, or you want it done once.
Find out what’s under there.
Book an inspection and you get photos of what we found and a written plan in the order it should be done. Then you decide.